
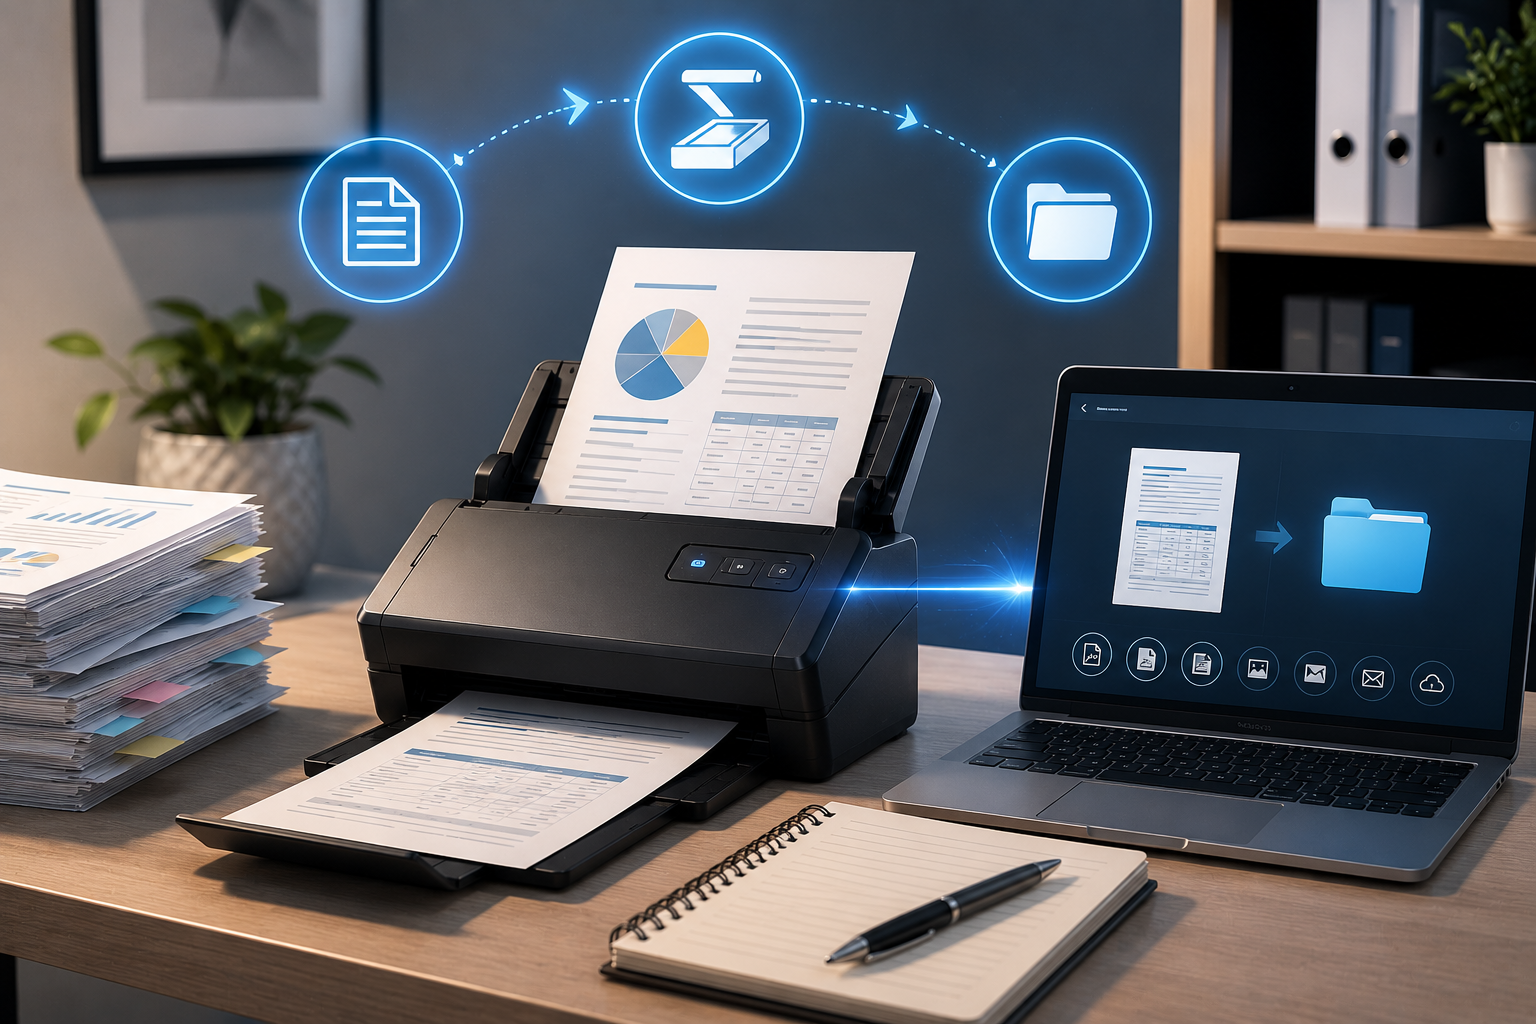
Whether you have just joined an organization that uses Kyocera multifunction printers or have had one in your office for years without fully exploring its scanning capabilities, Kyocera Quick Scan is worth getting to know properly. This Windows-compatible utility makes the document scanning process significantly faster and more streamlined than the default approaches built into most operating systems, and it integrates directly with Kyocera’s professional-grade MFP hardware.
This guide starts from zero and builds up to a working knowledge of Kyocera Quick Scan’s most useful features. By the end, you will be able to scan single documents, scan multi-page batches, send scanned files by email, customize your scan settings for different document types, and troubleshoot the most common issues that come up in day-to-day use.
What Is Kyocera Quick Scan?
Kyocera Quick Scan is a scanning utility developed by KYOCERA Document Solutions Inc. for use with Kyocera multifunctional printers (MFPs). It is designed to make document scanning faster and more controlled than using the scanner through generic Windows tools.
Its key capabilities include:
- Multi-page scanning: Scan multiple pages in a single session with automatic document feeding
- Automatic file saving: Automatically saves scanned files in PDF or TIFF format to your specified location
- User-friendly interface: A straightforward interface that is accessible for users at all technical levels
- Customizable scan settings: Control document size, resolution, and color mode for each scan job
- Email integration: Send scanned documents directly via email from the scanner’s control panel
- Compatibility with KYOCERA MFPs: Works with a wide range of Kyocera multifunction printer models
The current version is 2.1.3215 and it runs on Windows 10 and Windows 11 (both 32-bit and 64-bit versions).
Kyocera Quick Scan is positioned for business users — people who scan regularly, need consistent output quality, and want an efficient workflow rather than a complex setup. It is not the right tool for casual home scanning or for non-Kyocera devices, but within its intended context it delivers well.
Step 1: Installing Kyocera Quick Scan
Download the Software
Visit kyoceraquickscan.org and navigate to the Download page to get the latest version (2.1.3215). The software is free for use with compatible KYOCERA devices.
Before running the installer, ensure that your Kyocera MFP is:
- Powered on and fully initialized (display shows the home screen)
- Connected to your computer or network (USB or network connection)
- Compatible with Quick Scan 2.1.3215 — consult the Kyocera support documentation for your specific model to confirm compatibility
Running the Installer
- Double-click the downloaded installer file.
- Accept the User Account Control prompt if it appears (administrator access required).
- Follow the installation wizard: accept the license agreement, choose the installation location, and click through to complete.
- The software will install and may prompt for a system restart.
First Launch and Device Configuration
On first launch, Kyocera Quick Scan will attempt to detect your Kyocera MFP automatically. If the printer is on the same network segment or connected via USB, it should appear in the device list.
If automatic detection fails:
- Open the application settings.
- Manually add your device using its IP address (find the printer’s IP address by printing a status page from the device’s control panel).
- Enter the IP address in the connection field and confirm.
Once connected, the main scanning interface will be available and ready to use.
Understanding the Kyocera Quick Scan Interface
The main Quick Scan window is organized around a simple workflow:
Left panel: Scan settings — document size, resolution, color mode, file format, destination folder
Center: Scan initiation button and scanning status
Right panel or bottom: File list of recently scanned documents
Top menu: Access to settings, profiles, and help
This layout puts all the relevant options visible at a glance. Most daily users will configure their preferred settings once and rarely need to change them.
Step 2: Configuring Your Basic Scan Settings
Before your first scan, set up the settings that will apply to your routine document scanning:
Document Size
Select the paper size that matches what you most frequently scan. The most common options are:
- A4 (210 × 297mm) — Standard for most of Europe, Asia, and Australia
- Letter (8.5 × 11 inches) — Standard in the United States and Canada
- Legal (8.5 × 14 inches) — Common for legal documents in North America
- Auto — The software detects the document size automatically; useful when scanning mixed batches
Auto detection is convenient but slightly slower and occasionally misidentifies non-standard documents. For batches of uniform-size documents, manually specifying the size produces faster, more consistent results.
Resolution
Resolution controls the sharpness and detail of your scanned image, measured in DPI (dots per inch). Higher resolution means sharper images but larger file sizes.
For business document scanning:
- 150 DPI: Minimal quality, very small files. Acceptable only for internal reference documents where print quality does not matter.
- 200 DPI: Good for standard text documents. Small file sizes, acceptable readability.
- 300 DPI: The standard for business use. Clear, readable text with reasonable file sizes. Appropriate for invoices, contracts, correspondence.
- 400 DPI: Better for documents with small print, fine detail, or documents you may need to enlarge.
- 600 DPI: Best for documents containing detailed graphics, diagrams, or very fine print. Larger file sizes.
For most business users, 300 DPI is the sweet spot. Configure this as your default and only change it for specific high-detail documents.
Color Mode
- Black and White (Monochrome): Produces binary black-or-white images. Very small file sizes. Excellent for text-only documents, forms, and printed correspondence.
- Grayscale: Captures shades of gray, good for documents with faded print or photographs printed in black and white. Medium file sizes.
- Color: Captures full color. Use for documents with color charts, highlighted text, logos, or color-coded data. Larger file sizes.
For typical office documents, Black and White or Grayscale reduces file sizes by 60–80% compared to Color without any meaningful quality loss.
File Format
Kyocera Quick Scan saves files in PDF or TIFF format.
- PDF is the standard for almost all business document workflows. PDFs open on any device, are widely accepted by email, cloud storage, and document management systems, and can be made searchable with OCR tools.
- TIFF produces high-quality image files preferred in certain specialized fields (publishing, archiving, medical imaging). For most office use, PDF is preferable.
Select PDF as your default unless you have a specific reason to use TIFF.
Destination Folder
Specify where scanned files will be saved. Create a dedicated incoming scan folder — for example, C:\Scans\Inbox\ or a folder within your company’s shared network drive. Having a designated, consistently-used folder is important for keeping scanned documents organized.
Step 3: Your First Scan
With settings configured:
- Place your document on the scanner’s flatbed glass or in the automatic document feeder (ADF).
- Click the Scan button in Quick Scan.
- Wait for the scan to complete — the progress indicator will show the status.
- The scanned file appears in your specified destination folder with the auto-generated filename.
For a single-page document on the flatbed, the process typically takes 5–15 seconds depending on resolution and your device’s speed. ADF scans of multi-page documents scan each page sequentially, typically at 30–50 pages per minute on modern Kyocera MFPs.
Step 4: Multi-Page Scanning
One of Kyocera Quick Scan’s most practical features is seamless multi-page scanning through the ADF.
Using the ADF
- Place your document stack in the ADF input tray according to your device’s orientation markings (usually face-down, first page on top).
- In Quick Scan, confirm that the document source is set to ADF rather than Flatbed.
- Click Scan.
- Quick Scan scans all pages and automatically assembles them into a single multi-page PDF.
For most office documents, the ADF is significantly faster than flatbed scanning. A 20-page report takes under a minute through a modern Kyocera ADF, versus several minutes of individual flatbed scans.
Scanning Mixed Batches
If you need to scan a batch of documents where each document should become its own file, scan each document separately and configure Quick Scan to auto-increment filenames. Many users find it most efficient to scan the entire physical stack as a single PDF and then split it afterward using a PDF editor, rather than interrupting the scan workflow for each document.
Step 5: Sending Scanned Documents by Email
Kyocera Quick Scan and the Kyocera MFP’s control panel work together to enable direct scan-to-email. This allows you to scan a document and send it to an email address without touching your computer.
Setting Up Email Scanning from the Control Panel
- Press the Scanner button on your Kyocera MFP’s control panel.
- Tap “Send Email” on the touch-screen interface.
- Select your name from the address list (if your organization has pre-configured addresses in the device’s address book).
- Tap “Enter Dest.”
- Type the recipient email address using the touch-screen keyboard.
- Tap “End” and then “Enter” to confirm.
- Place your document and press the green Start button.
The scanner processes the document and sends it as an email attachment. For multipage documents, the ADF can handle the full stack in sequence. The transmission may take 1–2 minutes for larger documents.
Address Book Configuration
For organizations where the same email addresses are used frequently (internal colleagues, regular clients, the finance department), pre-programming these addresses into the Kyocera device’s address book saves significant time. This is typically done through the device’s web interface (accessible by entering the device’s IP address in a browser) and requires administrator access.
Step 6: Customizing Settings for Different Workflows
Creating Multiple Scan Profiles
Like most professional scanning software, Kyocera Quick Scan allows you to save different setting combinations as profiles. This is valuable when you regularly scan different document types that need different settings.
Suggested profiles for a business environment:
Standard Documents: PDF, 300 DPI, Grayscale, A4/Letter, ADF
Contracts and Legal: PDF, 300 DPI, Color, A4/Letter, ADF
High-Detail: PDF, 600 DPI, Grayscale, A4/Letter, Flatbed
Archive Quality: TIFF, 600 DPI, Color, A4/Letter, Flatbed
Name your profiles clearly and assign them to the appropriate scan button if your Kyocera MFP has programmable buttons.
Troubleshooting Common Kyocera Quick Scan Issues
Quick Scan Cannot Connect to the Printer
- Verify the printer is powered on and shows the home screen.
- Check that the printer and computer are on the same network segment.
- Confirm the printer’s IP address has not changed (DHCP can reassign IPs; consider setting a static IP for your office MFP).
- Restart both the printer and Quick Scan.
- Temporarily disable firewall/antivirus to test whether blocking is the cause.
Scans Are Skewed or Crooked
- Remove the document from the ADF, straighten it, and reload carefully.
- Clean the ADF rollers and the flatbed glass — dust on the glass or rollers causes document feeding issues.
- Try the flatbed for individual pages that are causing problems.
PDF Files Are Very Large
- Reduce resolution to 200–300 DPI.
- Switch from Color to Grayscale or Black and White.
- For existing large PDFs, use an online PDF compression tool or Adobe Acrobat’s optimization function.
Scan Quality Is Poor (Faded, Blurry)
- Increase resolution to 300–400 DPI.
- Clean the scanner glass with a dry microfiber cloth.
- Check if the original document is damaged or faded — improving scan quality of a poor original has limits.
- Ensure your Kyocera device’s drum and toner components are not due for replacement.
Building a Faster Document Workflow
Kyocera Quick Scan is most valuable when it is part of a documented, consistent workflow rather than an ad hoc tool. A simple process for a small to medium business:
- Incoming documents scanned on arrival using the ADF and Quick Scan.
- Auto-saved to a shared network folder accessible to relevant staff.
- Weekly review and filing into organized subfolders (Finance, Legal, HR, Operations).
- Cloud backup of the scanned folder structure runs automatically.
This workflow ensures that no physical document is the only copy of important business information, that documents are accessible to everyone who needs them, and that retrieval is fast when needed for audits, client inquiries, or internal reference.
Kyocera Quick Scan’s simplicity is its strength: it does the scanning part of this workflow reliably and without complication, leaving the organization and storage logic to you and your team.
For downloads and more resources, visit kyoceraquickscan.org.